Description
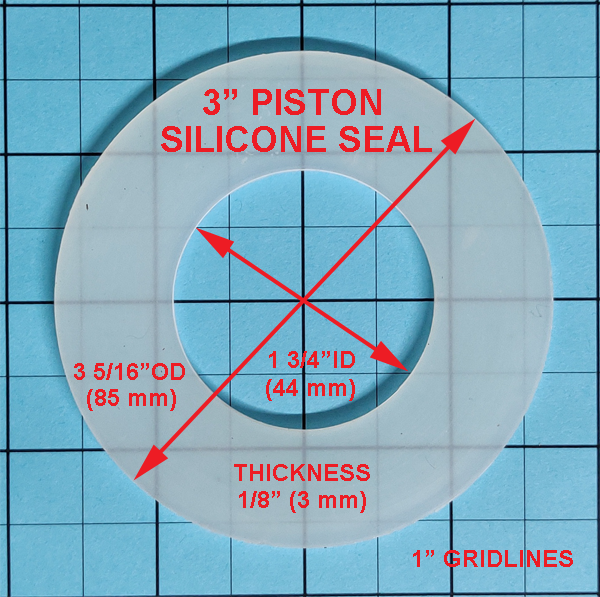
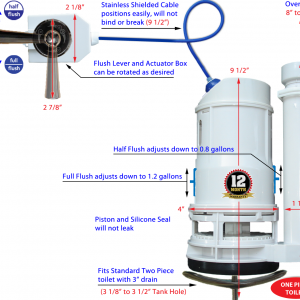
Replacement White Silicone Piston Seal for all 3″ FlushSaver Kits
3 5/16″ (85mm) Outside Diameter x 1 3/4″ (44mm) Inside Diameter x 1/8″ (3mm) Thickness
Note: May fit dual flush valves from other manufacturers, check dimensions carefully. Actual size and thickness may vary slightly and is usually not critical if fairly close . . .
Removal and Installation Instructions
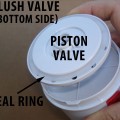
Warm the existing seal ring with a hair dryer or hot water and then remove it by working it out and over the piston. It is made from a strong silicon rubber and will not tear easily, but take care not to stretch it anymore than necessary during removal so it can be saved and possibly reused.
When replacing the seal ring, warm it, apply a thin layer of silicon grease (AVAILABLE HERE) and work it back over the piston, again taking care to not stretch it any more than necessary when installing. Now align and twist the valve back into its bayonet mount while checking to ensure it is fitting squaring down into the base. Before turning the water back on, operate the flush handle or push button and make sure that the piston valve is dropping down freely and securely into the base lip.

