Description
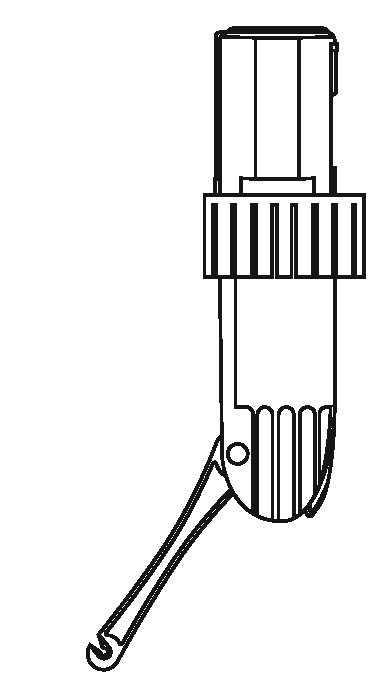
FlushMinder G3/G4 Actuator Motor Assembly Only with 20″ Cable – DIY Replacement Part
NOTE: Requires basic electrical skills and tools . . .
REPLACEMENT INSTRUCTIONS: 2 DIFFERENT METHODS
METHOD 1: Cable Splice (Easiest)
- IMPORTANT: Remove the batteries before attempting ANY repairs ! ! !
- Cut the actuator motor cable near the actuator itself to remove it.
- Trim the length of the cable on the new actuator motor as desired (shorter or longer up to 40″ total length will not cause any problems).
- Splice the 4 color coded wires by twisting them together and wrapping in electrical tape.
METHOD 2: Circuit Board Attach (Requires Soldering)
- IMPORTANT: Remove the batteries before attempting ANY repairs ! ! !
- Remove the 4 screws holding the case halves together.
- Make note of the color and location of the actuator wires, then unsolder them.
- Now dig out some of the silicone glue at the base where the cable exits to free it up.
- Pull out the old cable, insert the new and resolder, then reglue at the exit hole (optional).
NOTE: In some cases with older units, the RED to RED and BLACK to BLACK (or BLUE to BLUE) may need to be reversed, so match them up temporarily at first, install the batteries and test for proper function. If the actuator does not cycle properly, remove the batteries and switch the RED to BLACK (or BLUE) and BLACK (or BLUE) to RED.
Now replace the batteries and re-calibrate the detection distance as described in the following link . . .





Reviews
There are no reviews yet.